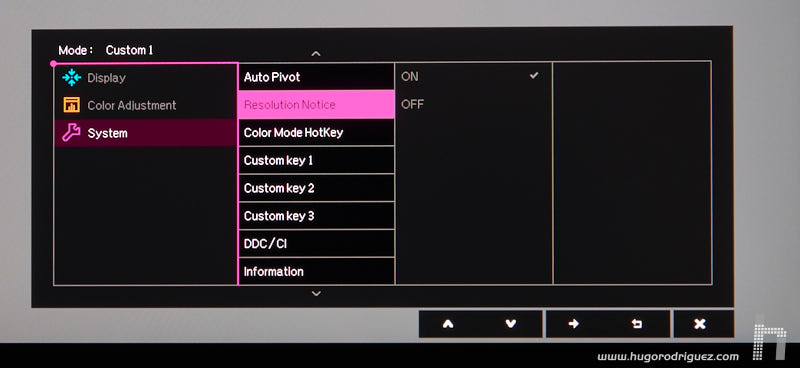
In the system menu you can find many configuration functions that are worth checking:
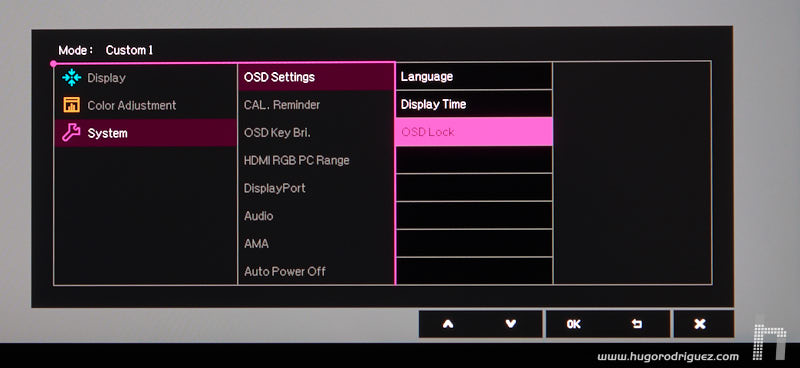
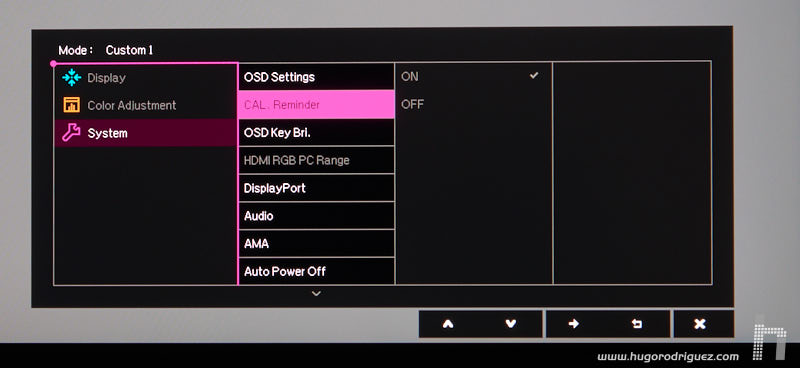
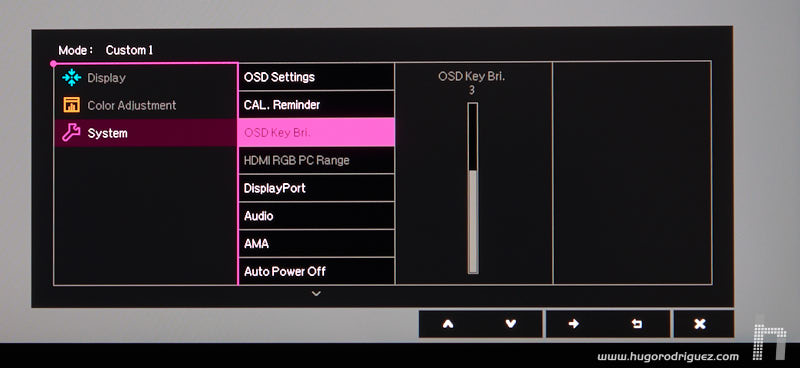
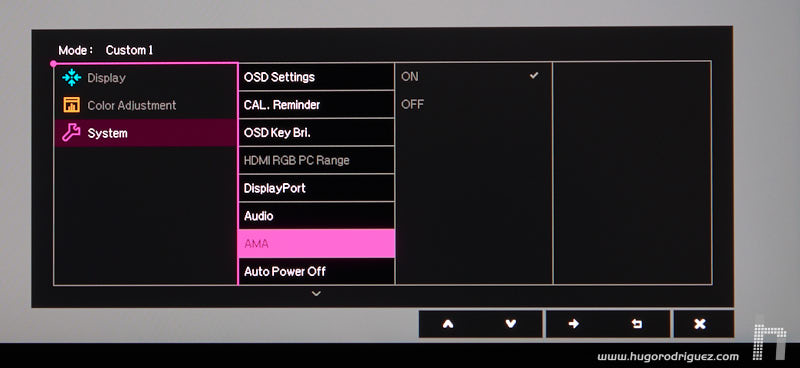
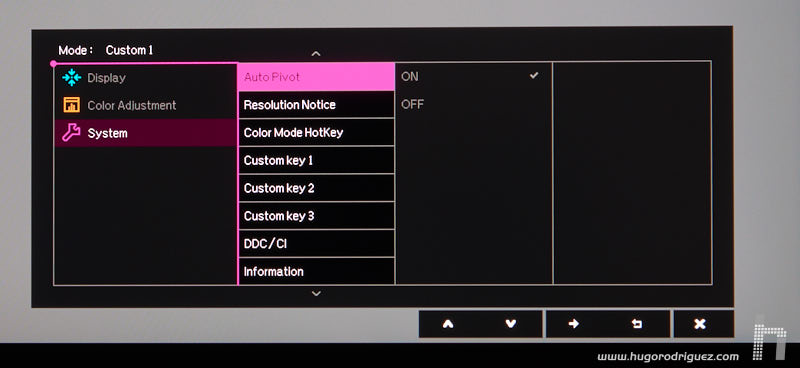
- OSD lock: in studios where many people is moving, it often happens that when someone comes, he/she can thing that the image is too dark/bright (or whatever), and starts to vary the brightness. Well, with this the buttons are blocked and the problem is solved!
- CAL. reminder: when activated, the monitor will remind you that you have to calibrate it (according to its own internal timer).
- OSD key bri.: this controls the light brightness of the main key of the monitor very interesting in dark environments.
- AMA: apparently improves the response time of the panel, which should be beneficial for video games, but I haven’t really used.
- Auto Pivot: if the monitor is rotated vertically, the on-screen menu also does the same.
- Resolution notice: it reminds you what the native resolution is in case you’re not using it.
- DDC/DCI, which you should normally leave active, allows your computer and monitor to communicate themselves. This is necessary, for example, so that some calibration programs such as i1 Profiler can access the monitor’s menus to automatically adjust some parameters.
- Information shows you which input you are using, what resolution and at what refresh rate.
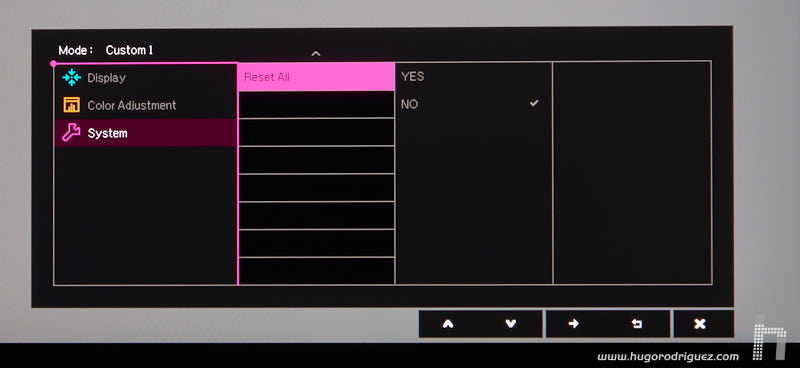
- Reset all: a complete reset to return to the original factory settings.
Very interesting to be able to customize what some buttons do with these two functions:
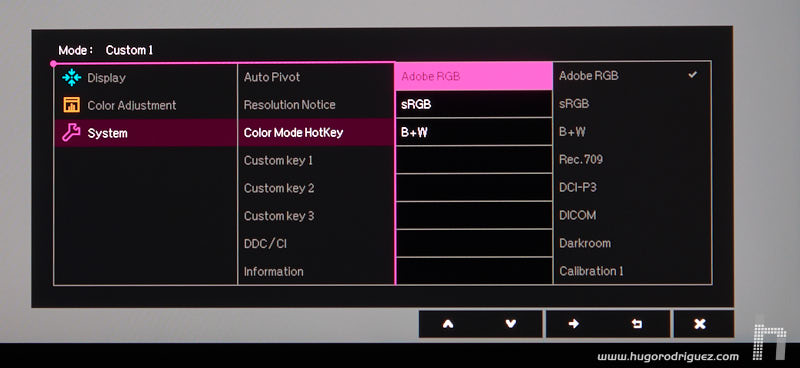
- Color Mode HotKey allows you to customize which three color spaces you want to have at hand by the time you press this new button directly and quickly (without opening the menus).
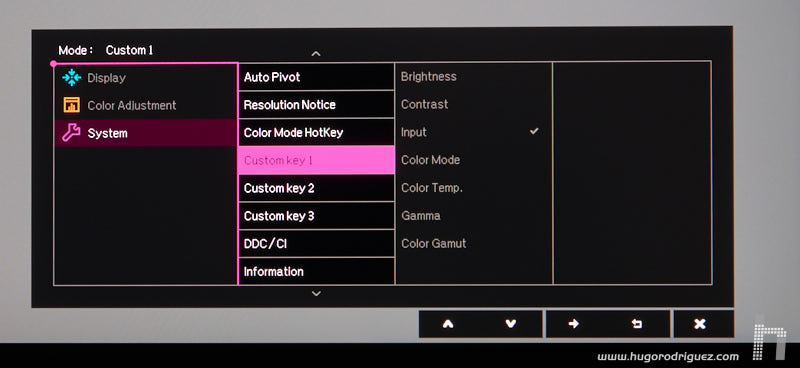
- Custom key 1&2: very useful. It allows you to assign what function for three of the six keys on the front of the monitor, from all the options you see in the submenu.
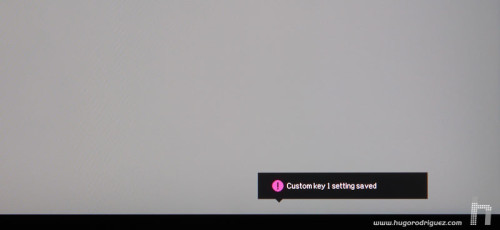
Once you have chosen and saved another setting, the monitor displays the confirmation:
and when you open the first icon menu, you will see the change:
Image Quality
This is undoubtedly one of the most important aspects. The first aspect to evaluate is the type of panel and, in this regards, BenQ is following its path and uses a state-of-the-art IPS. It is supposed to be very similar to, if not superior to, the PG2401PT.
The panel has a color gamut similar to that of the Adobe RGB 1998 space, something that is already considered common on today’s high-end monitors. In addition, the panel is 10 bits (the maximum level at this moment), so the gradations will be so smooth that it will be impossible to appreciate «steps» in a gradient. However, in order to fully enjoy the 10 bits, the entire chain from the moment the image is generated until it reaches the monitor has to work at the same color depth. Therefore, the graphics card has to be able to do this, the software you use (for example, Photoshop can do it, but you have to activate it in the preferences), the driver and the cable that reaches the screen.
The brightness is, as usual, high. Photographers and video editors always work in rather dark environments (designers tend to work differently), and excessive brightness is not particularly useful. BenQ announces a maximum brightness of 250 Cd/m2, more than enough. We all would like alower range, starting from 30 Cd/m2 to, say, 160 Cd/m2 or so.
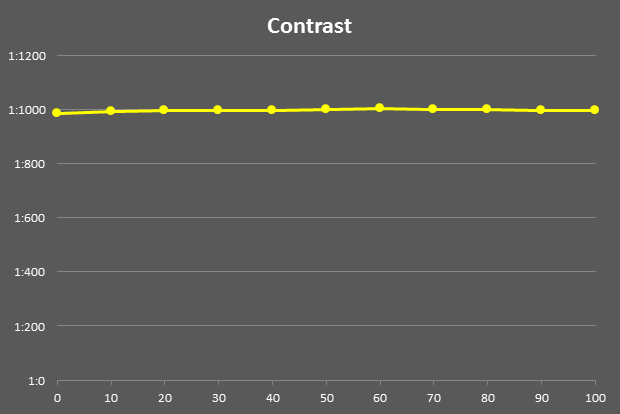
Native contrast and dynamic contrast are also announced, being 1000:1 and 20 million:1 respectively. In my tests I have measured a native contrast of 996:1, which is pretty good value and it totally matches the specs on paper. This contrast drops to 864:1 in the modes in which uniformization is active, something completely normal that all monitors on the market suffer from. By the way, together with the SW271 I recently analyzed, these are the only two cases in which I see a manufacturer announcing both data clearly and openly.
The native contrast remains stable across the entire brightness scale, from 100% to 0%, something not all displays offer. This is because when a minimum voltage value is reached on the LEDs inside, the brightness starts to drop by software on the screen, which keeps the minimum black the same but lowers the white. Consequently the contrast lowers.
It is also interesting to note that the system used by BenQ to regulate the brightness does not bother the eye, as it happens with other manufacturers, typically in lower categories. The technique usually used produces a flicker that cannot be easily detected by the naked eye but for example if you take the camera out of your phone and try to take a picture of the screen, then you will appreciate how the flicker feels when you look at it through your phone. The high frequency system used by BenQ makes the image much more stable and therefore it is impossible to notice any flicker, even through a camera. Logically, this is also appreciated because after hours of working in front of this screen, the view becomes less tired.
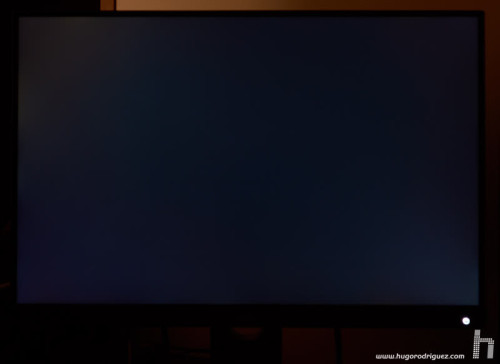
The glow effect that typically occurs when looking at blacks in a dark room is quite correct. This effect is especially noticeable when looking at the screen from the side or, being in front, when looking at a corner. It can be a light-neutral filtration or have color:
The quality of the 3D LUT is very good, and it allows shaping the color gamut through the hue and saturation controls, being able to control independently each one of the six primary ones. It is very useful when calibrating this monitor for use in video where, instead of making an ICC profile, the gamut is «modelated» to fit the chosen standard (Rec709 or DCI-P3). And it works very well, it does not degrade the image quality at all (it usually happens especially in some televisions, even high-end). It must be admitted that it does not have the fineness of adjustments of much more expensive models, like the NEC Spectraview or the EIZO CG, although it is also true that the difference in quality is not -at all- correlated with the difference in price.
Continues in page 4…

