ICC Color Camera Calibrator
INFORMATION
CoCa is an open source, mainly MS Windows appplication, designed to create ICC color profiles for digital capture devices, like scanners and cameras. It utilises Argyll open source color library, which is included in CoCa installation package. CoCa supports a variety of calibration targets, including:
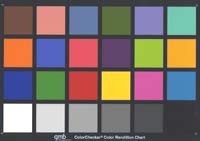
- Xrite ColorChecker Classic (24 patches) - www.xrite.com
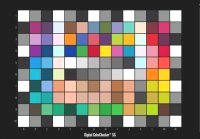
- Xrite ColorChecker Digital SG (140 patches) - www.xrite.com
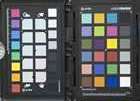
- Xrite ColorChecker Passport - www.xrite.com
- Christophe Métairie's Checker - www.cmp-color.fr
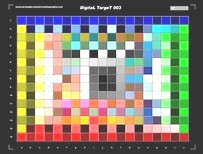
- Christophe Métairie's Digital TargeT 003 - www.cmp-color.fr
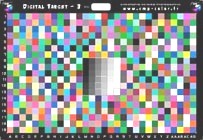
- Christophe Métairie's Digital Target-3 - www.cmp-color.fr
- Christophe Métairie's Digital Target-4 - www.cmp-color.fr
- HutchColor HCT - www.hutchcolor.com/hct.htm
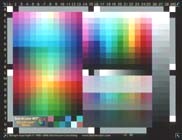
- LaserSoft DCPro - www.silverfast.com/show/dc-targets/en.html
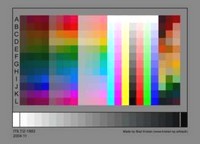
- IT8.7 - available from many vendors. Inexpensive targets are available from www.targets.coloraid.de or www.hugorodriguez.com
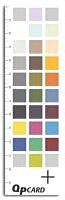
- QPcard 201 - www.qpcard.se
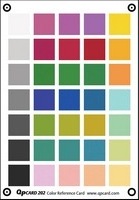
- QPcard 202 - www.qpcard.se
 |
 |
ColorChecker |
ColorCheckerSG |
 |
 |
ColorChecker Passport |
Digital TargeT 003 |
 |
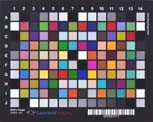 |
HutchColor |
LaserSoft DCPro
|
 |
 |
Digital Target-3 and 4 |
IT8.7 |
 |
 |
QPcard 202 |
QPcard 201
|
For creation of profiles, all targets require the accompanying reference file. Usually, the reference file is supplied together with the target by the vendor. For ColorChecker, QPcard 201 and QPCard 202, generic reference files may be used and are included within CoCa. QPCard 203 has been included as well, working on the assumption that it has the same values as 202 (but this has not been confirmed yet). Some other reference files are available for download from vendor's web sites.
CoCa is multilingual and currently supports English, Czech, French, Indonesian, Polish and Spanish languages. If you would like to help with translations, please contact me on the address at the bottom of this page.
USAGE
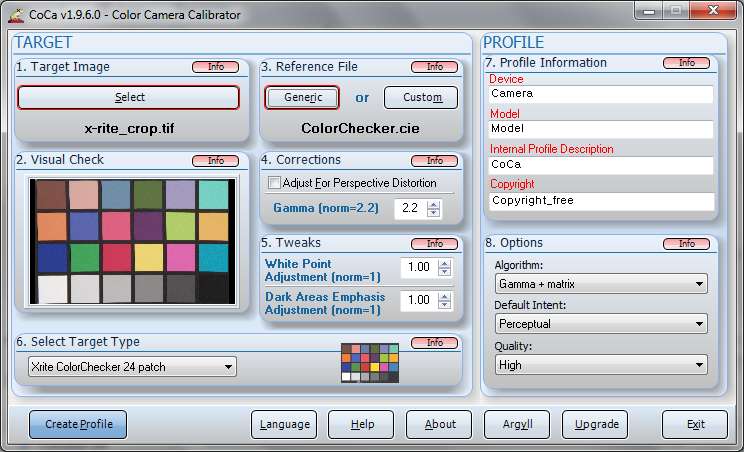
CoCa is simple to use and to help with the ICC profile creation process it provides numbered steps, that follow the logical path of building up a profile. CoCa has not been tested with all supported targets but it works very well with many of them.
Described below are the program functions.
1. Target Image
To create an ICC profile, special colour target is required (from vendors mentioned elsewhere on this page) that needs to be captured with a digital camera or scanner.
To ensure high quality capture, suitable for colour calibration please observe the following:
|
CoCa allows you to use an already captured target image (click on "Select" button) or to capture a new image ("Capture"), providing that the capturing device supports a TWAIN driver.
2. Visual Check
In this section, it is possible to visually check the positioning and cropping of the captured image. Clicking on the image would diplay a larger preview with a rough histogram window.
3. Reference File
Reference file is necessary for creation of a colour profile. Usually, they are provided by a vendor together with a target. Xrite ColorChecker and QPcard 201 may be used with generic references that are provided with CoCa. To use generic files, click on the "Generic" button. However, higher quality profiles are usually created with references that were produced specifically for the particular target. Click "Custom" to open and use such files.
4. Corrections
If your captured target image has a perspective distortion, this option would try to automatically correct it. Default Gamma setting is 2.2. It should not be changed for standard 24-bit images. If the image has linear Gamma (e.g. RAW files converted with dcraw linear option 16-bit/channel), Gamma 1.0 should be selected.
5.Tweaks
By using the slider in this section, it is possible to adjust the White Point of the profile. Values higher than 1.0 will create a profile that produces lighter images, and values below 1.0 will produce darker images.
6. Select Target Type
It is important to tell CoCa what type of target it should expect as it cannot detect it automatically from the image. If the wrong type is selected, CoCa either will be unable to create a profile or the resulting profile will be invalid. Small image next to the selection list will help you to determine the right target type.
7. Profile Information
This is user dependent information that needs to be correctly adjusted. In particular, "Internal Profile Description" field is important as some programs (like Adobe Photoshop) use it to identify the profile.
8. Options - Algorithm
Here it is possible to select appropriate algorithm to calculate the profile. Some experimentation may be required when trying to determine the best algorithm for a particular device/target. According to some colour management practitioners, "Gamma+matrix" is the most suitable for many digital cameras.
9. Options - Quality
Various profile quality levels can be selected in this section. Higher quality would result in a better profile but the profile creation will be longer and the profile itself will be larger (bigger file size). The Argyll documentation specifies that "Ultra High" quality should almost never be used.
CREATING THE PROFILE
Click the "Create Profile" button. Providing that all options were correctly selected, CoCa would start calculating the profile. Current progress will be visible inside (usually) black command-line boxes. After profile has been created, CoCa will ask you to save it.
USING THE PROFILE
With scanners
To use the created profile, the scanner's capture software would need to have an option of selecting the default scanning ICC profile. Once selected, the profile would be automatically applied during every capture. You would need to select the created profile's name in the device's software.
With scanners and cameras
Alternatively, after images have been captured, they need to be opened in an image manipulation program like Adobe Photoshop, GIMP or Paint Shop Pro.Use the "Assign Profile" option to apply the profile.
Remember, an ICC colour profile is valid only for the device that it has been created for. In case of digital cameras, the lighting has to be always the same as it was when the profile was created.
ICC profiles are not perfect (in some cases when the original material you are capturing is very different to the material used in production of a target, the results may be quite inaccurate), but at the moment they are the best mechanism available to ensure high fidelity colour in digital images.
Details about CoCa's processing are available from Argyll web site ( http://www.argyllcms.com) or attached documentation.
USEFUL LINKS
- http://www.color.org
- http://www.argyllcms.com
- http://www.digitaldog.net/
- http://www.coloraid.de
- http://www.testdata.coloraid.de/
- http://github.com/hughsie/shared-color-targets
- http://www.danes-picta.com
- http://www.hugorodriguez.com
- http://www.qpcard.se
DOWNLOADS
CURRENT VERSION 1.9.7.1
GUI MS Windows
- coca_setup.exe (Installation file)
- coca.zip (Zipped files for manual installation)
- Source Code (CoCa's source code)
MINIMUM REQUIRED SYSTEM
- MS Windows 98 or above (tested up to MS Win 10), or Linux (tested on Ubuntu 12.04 with Wine)
- 500Mb RAM (the more the better)
- Enough free disk space (depending on processing choices)
- 24-bit monitor
- Admin access on some OSs
SPECIAL THANKS
Special thanks to all who helped improving this program. In particular, I would like to thank the translators for their effort in making CoCa more accessible to non-english speakers.
TRANSLATORS
- Czech - Ivan Daneš
- German - InoTec, Klaus Brinner
- French - Christophe Métairie
- Indonesian - Muhammadin Razak
- Polish - Andrew Stawowczyk Long
- Spanish - Hugo Rodriguez