The definition is simply overwhelming. The level of definition and cleanliness of the image while watching a movie in FullHD resolution is really impressive. No “mist”, no purple edges, no chromatic aberration, no flare, no light stains….
And the projector is working, so to speak, at 25% of its capacity, since in FullHD it only has to show a quarter of the pixels it is really ready for (4K).
Remember that the 4K standard defines a size that is twice as wide and twice as high as FullHD, resulting in twice the resolution and four times as many pixels. Well, here we would have to talk about the two standards that I could call 4K (3,840 in width) and UHD (4,160 in width), and in this case I am referring to the first one.
And this is not the end of the story, because seeing each scene and the intensity and fidelity with which the colors are reproduced, it practically knocks you out. Yes, I know that with these words it will surely seem that I am exaggerating, but all those who have passed by and seen it live have said exactly the same thing: absolutely impressive.
The finishing touch came when, after a few days, I finally got a chance to try it out with a real 4K film, to really test the W1700.
I have to start by saying that when it comes to 4K, I think the industry is overreacting and that the difference with a good FullHD is not really that big. It’s a topic that gives a lot to talk about and it’s something I want to do, but in another article.
What I do want to comment on is that there are movies and movies in 4K. Some are real and some are…. say, fake 4K.
The most common, unfortunately, are the fake 4K. So, what’s that? These are releases that are shot with 4K cameras (sometimes even 3K or less), but then edited in 2K. Yeah, as it sounds. Basically you could almost say that they are FullHD movies that haven been interpolated up to 4K and sold like that. Just as it sounds. To top it off, special effects are also rendered in 2K. Obviously, the final film does not have the level of definition that is expected of it, because it is basically an interpolated 2K film.
And you’ll think:
- But why? what’s the point of that?
- Well… I guess because the cinemas run on 2K, but I really don’t get it. It takes them about the same amount of time to edit in 2K as in 4K….
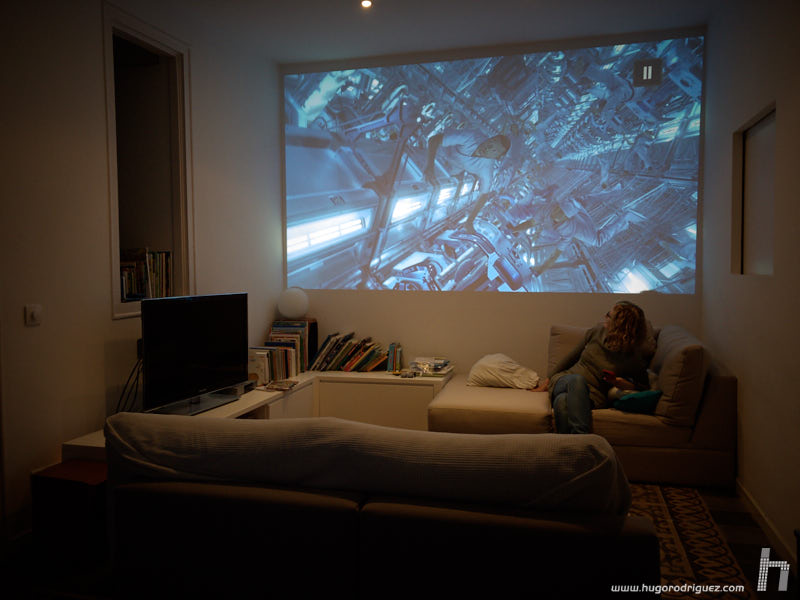
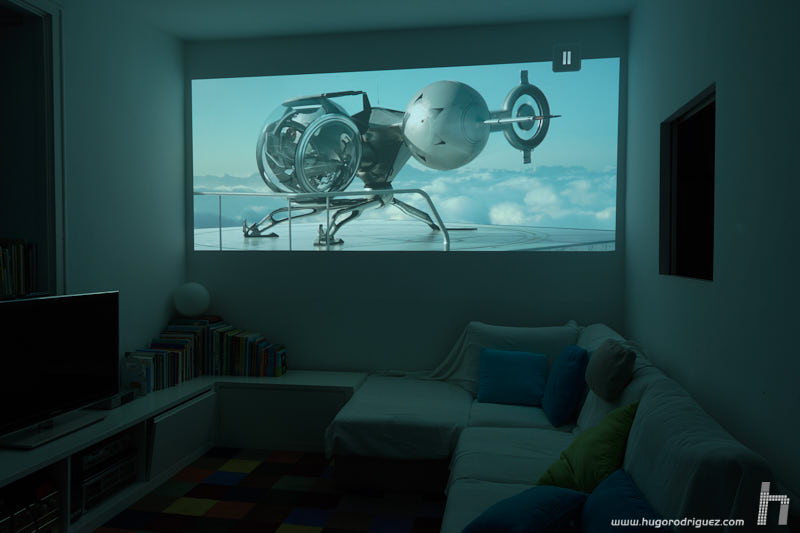
Already last year, while testing the SW320 monitor, I noticed it. Watching The Martian I noticed that on the SW320 itself it looks great with its high pixel density, but when viewing a 100% enlarged frame on the 24″, it was clear that it lacked definition. I happened to see it in images of the spaceship, which are part of the fx (special effects) and were rendered in 2K, but apparently the real images are really 4K.
The fact is that for the 4K test with the BenQ I got Sicario, which according to the reviews and the realorfake4k.com website claims to be authentic 4K: shooting, editing and fx. Well, indeed, it is. It sure is….
There are some very static shots of the main character, still inside a car, to give an example, in which in the FullHD version you can see the pores of the skin clearly. This is already impressive because of the level of detail. But with the 4K version you go beyond the ‘awesome’ to the ‘overhelming’. Not only could I appreciate the pore, but I could appreciate the hair on the skin!
That’s where the native 4K resolution of the W1700 and real 4K film can be seen, without any tricks. As I was saying, it’s hard to describe in words, but when you see such a big, sharp picture, it’s hard not to be impressed.
However, in order to appreciate such quality, several requirements must be met:
- The screen must be large enough.
- You must be very close to the screen.
- The movie (or the photograph) has real 4K resolution, without tricks.
The menus
The menus are very well organized and distributed. In addition, their size is large, much larger than most of the competition’s menus, which seem to be doing a competition to see who makes it smaller and shorter. With the amount of space available, I never understood why most engineers insist on designing it so small. Virtually all the functions you expect to find are there, and where you expect them to be. Oh, and with the name you expect to see, not with those translations that seem to be made by Tarzan. Yes, you English spoken won’t have any problem but we, the Spaniards indeed do.
To give you an idea of the size, you can see it here:
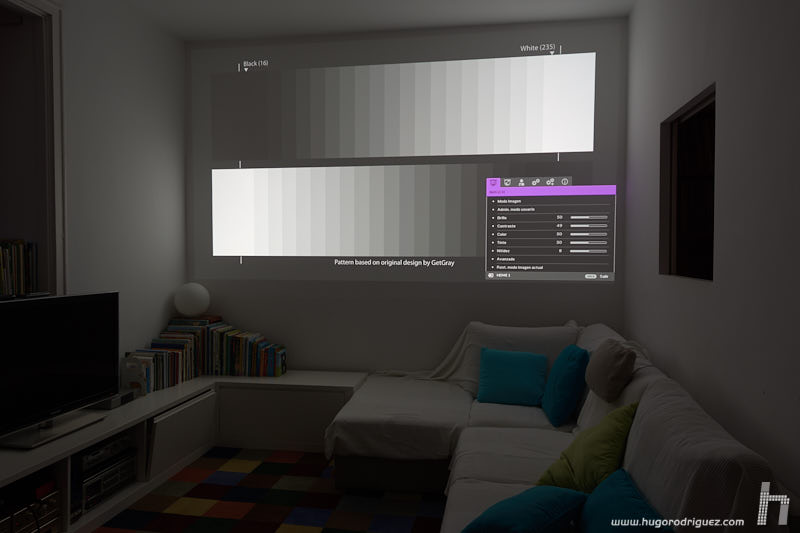
In addition, the instruction manual (PDF) is very well explained. It’s short and doesn’t say the obvious, as we’ve all met on multiple occasions, does it? Things like how to explain in detail what Landscape mode does in a camera tells you “to take spectacular landscapes”. Wow.
For example, it is very typical that to explain what the brightness or contrast does, in the manual you find that it “serves to regulate the brightness/contrast”, but not what it actually does, something that is fundamental for the advanced user. Here, for example, it makes it clear that the brightness is used to adjust the black level and the contrast, the white level. Man, for once I find it well explained!
In fact, I hardly spend any time reading the menu anymore because after reading so many times pages and pages of useless stuff, I choose not to read it, but I confess that I have read it.
When you open the menu you will find 6 tabs:
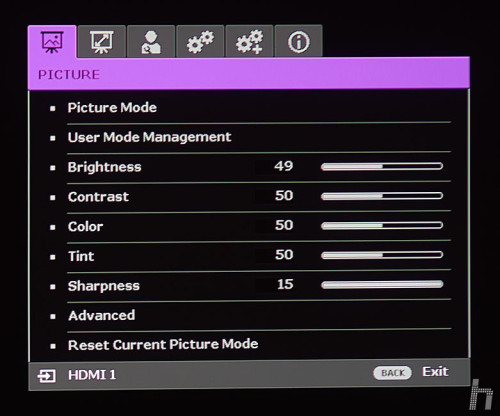
In the picture menu are the main controls to adjust it. The first thing to do is to choose a preset. If you’re looking for something faithful to the original without having to go through a lot of calibration work, you’ll like the Cinema mode, because it’s pretty well tuned. In my trials he has proved to be very faithful, as you will see later.
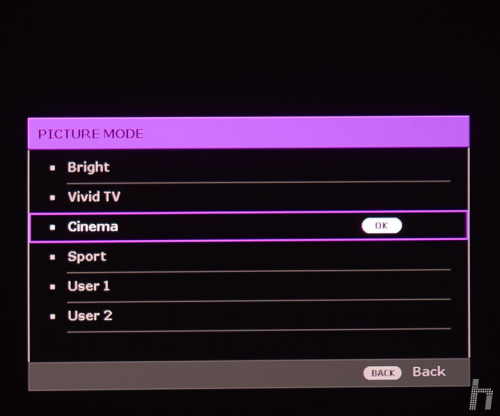
If you’re going to watch TV shows (not movies or series), Vivid TV is sure to give you the extra color, brightness and contrast you like. But if you’re one of those moviegoers who enjoys knowing they’re watching exactly what you’d see in a good movie theater or, in other words, what the photography director wanted you to see, then you’ll love the User and a good calibration, because with the right tools you can leave it so well tuned that it rivals a good movie theater without a problem.
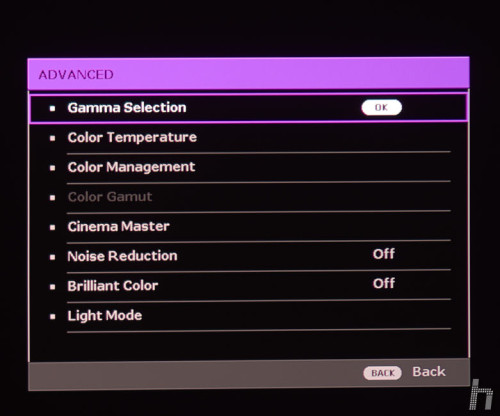
Once the first parameters (brightness, contrast, saturation, sharpness…) have been adjusted, you can move on to the Advanced tab, where you will find the gamma curve, the color temperature (or rather, the white point calibration), the complete color management (6 primary settings) and various functions to apply some improvements to the image.
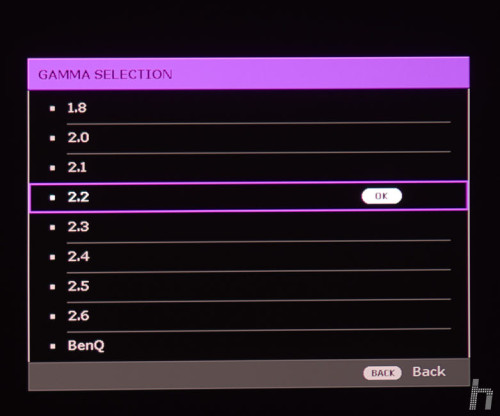
Inside Gamma we find settings from 1.8 to 2.6 and the “BenQ” position, which must be between 2.8 and 3 (not specified in the manual). In the manual itself he explains that it must be chosen according to the ambient light of the room: the less light, the higher the gamma. The default value is 2.2, which corresponds to the Rec709 standard and is almost equal to that of the sRGB.
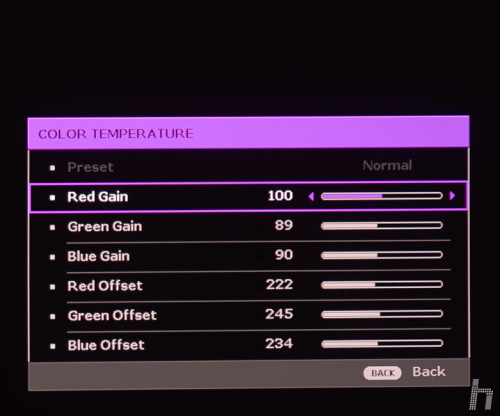
Within Color Temperature you can actually adjust both the RGB gain (typical) but also the so-called RGB offset (to regulate the black color). You can’t ask for more.
Continues in page 3…