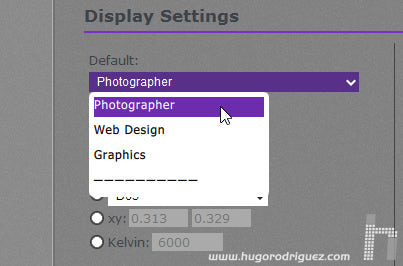
First of all there is a preset list, in case you are interested in using one of them:
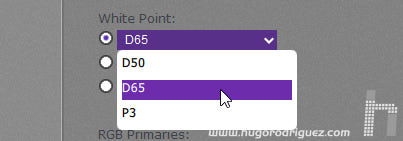
below you can choose the color of the white point, either with presets, with coordinates or directly with the color temperature:
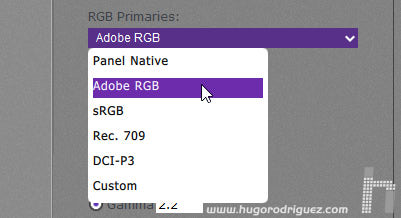
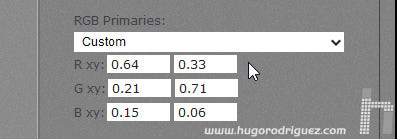
In addition, you can also choose the primaries to adapt the gamut to your taste. Not only can you choose from the spaces already mentioned (the same as in the presets), but you can also enter the coordinates of the primaries manually. A very advanced feature that, for example, is not possible with i1Profiler.
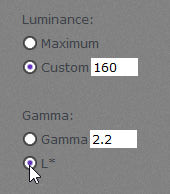
below you can indicate the brightness of the white point (although it doesn’t indicate it, in a candles per square meter), and the gamma curve, which can also be L*:
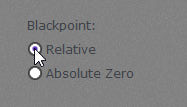
Finally, you can choose the black point:
In the next screen you have to indicate in which of the three memories you want to store the calibration of the three memories you have.
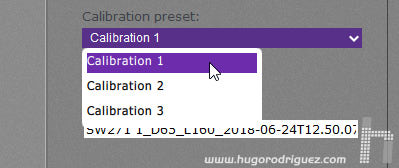
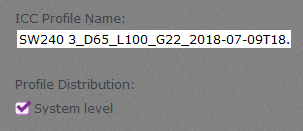
Here you also choose the name of the profile:
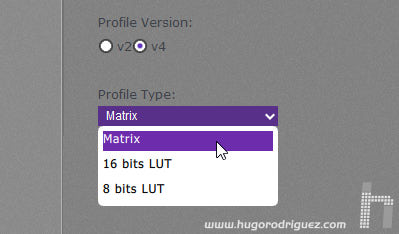
and what kind of profile do you want:
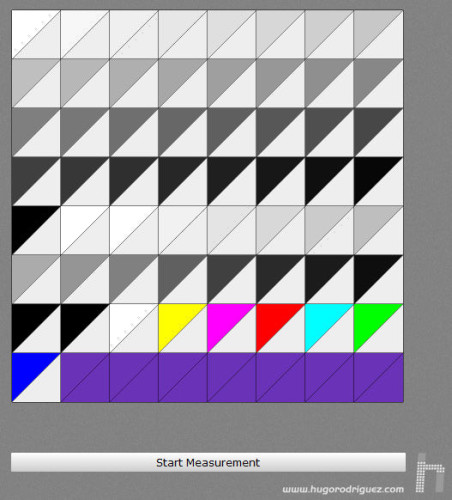
and you can already indicate that the measurement begins:
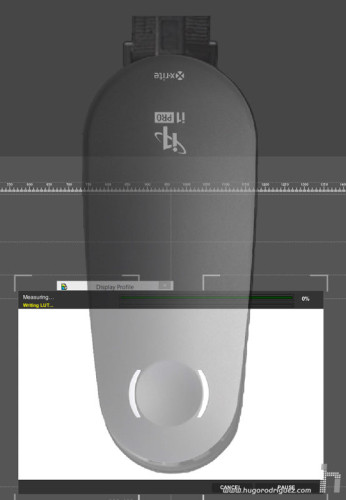
From here comes the measurement itself:
And, at the end, the results:
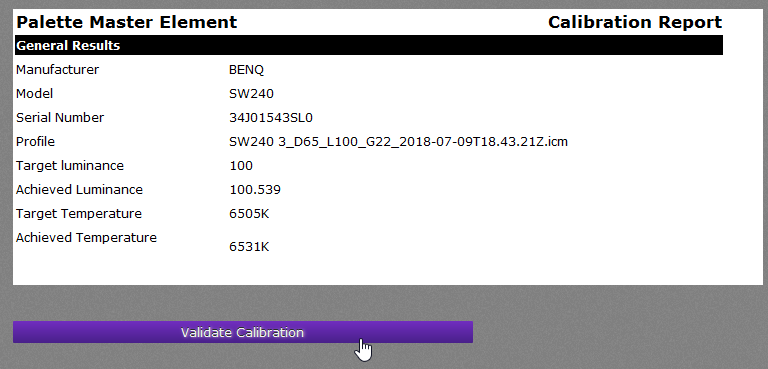
In this case you can see that the goal was to get 100Cd/m2 and 6.505K, and has achieved 100.539 and 6.531K respectively … not bad, right? (NOTE: It’s not that it’s not bad, it’s that it’s very good).
At the end you can make a validation, which is a check that the calibration and profiling have been done correctly. Once it makes the measurements, it will give you the results:
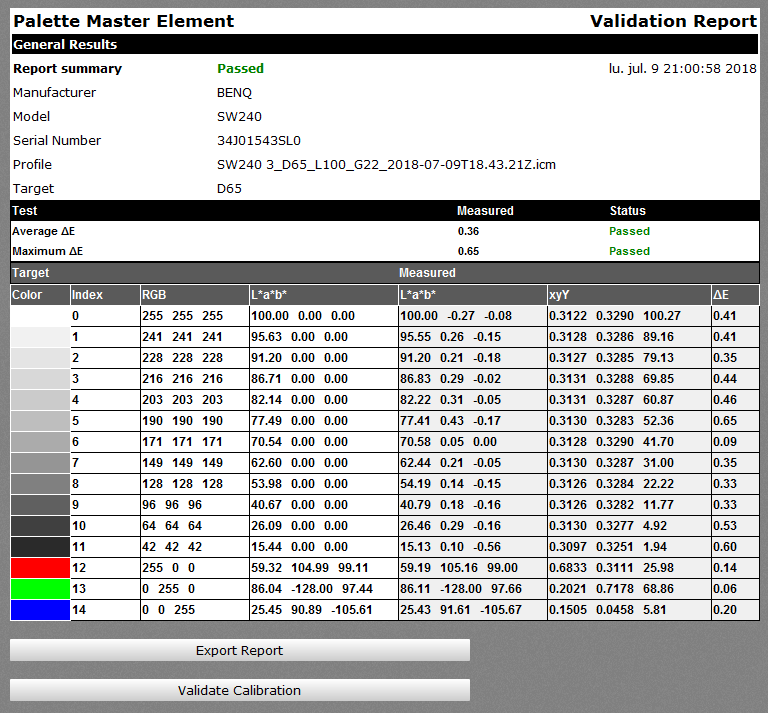
The important thing is seen in the central part, next to the cursor: “Passed”. A little further to the left you can see the color error that is measured in this check, which is 0.36 on average with a maximum error of 0.65 Delta E. Considering that perfection in practice is achieved below Delta E 1, you can imagine that if the maximum error is only 0.65, the result is excellent. In fact, this is one of the best results I’ve seen so far, including monitors at a much higher price; I don’t remember seeing a validation with a maximum error so low that it’s below 0.5. Normally the maximum is between one and two, typically because the black dot usually has deviations, but it seems that BenQ has managed to take a step forward in this regard.
Conclusion
The SW240 is a very high-end monitor, clearly aimed at professional photographers and video professionals and is placed slightly below the PG2401PT. The slim frame almost makes it look like a 22″ instead of a 24″ monitor.
The price is groundbreaking. I don’t think any manufacturer expected BenQ to release a top class 24″ for less than €500, which is exactly what thousands of photographers, designers and videographers are looking for. I bet they’re going to sell them a lot and this Christmas it’s going to be a hit…
In short, the SW240 is a monitor that does not stand out for having the best features on the market (its brothers the PG2401 or the SW271 have better performance), but it surprises -so much- for its price. It’s so low that it’s going to turn a lot of heads and also a lot of jaws dropping, because except for an offer from years ago in the case of a 24″ DELL, I don’t remember ever seeing a top for less than 450€. No doubt there will be a lot of talk about this monitor.
BenQ Professional Monitors for Color Management has sent me this monitor for the review, which they will take with them when they finish.
[Update 2018-07]: I’ve been told from BenQ that it’s not necessary that the monitor is returned.
The review also appears in Photogenic by BenQ. Hugo Rodriguez is a BenQ Monitor Expert & Ambassador.

