One of my complaints in previous models was the touch buttons. Well, it seems that they have listened to us and now they are physical ones… much better! Physical buttons give the proper feedback when you press them, letting you know that you ‘told’ the monitor something and he may respond properly.
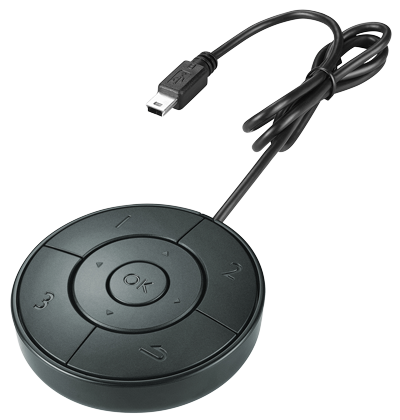
Like some previous models, it features the convenient wired remote control:
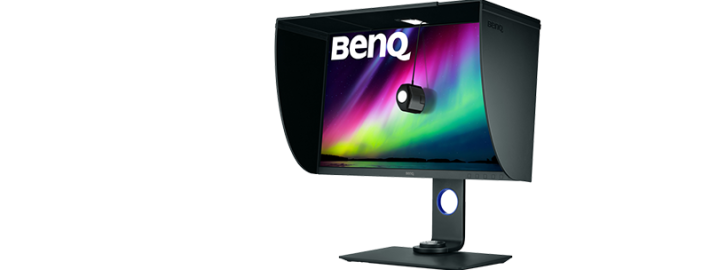
Once the monitor is turned on, you can see the incredible 4K definition. Being a 27″ panel, it implies that the pixel density is very high, among the highest in the industry, no doubt. Specifically, the resolution (not to be confused with the image size of the desktop) is 163 ppi. Go figure; higher than a 15″ FullHD laptop, which sets the pixel density at 143 ppi.
The menus
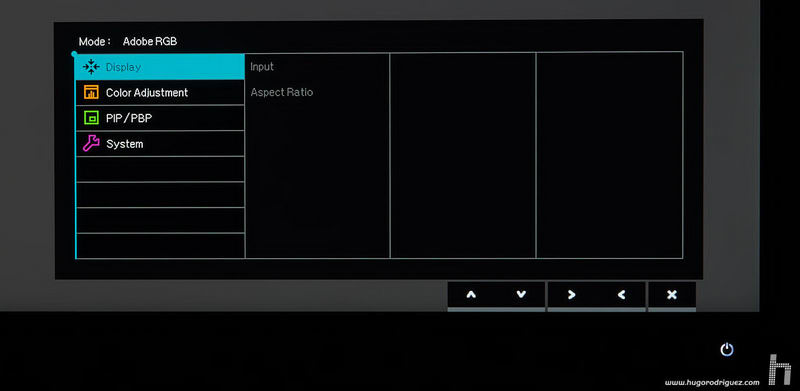
The menus of the SW271 follow the line already marked by previous models: large size, easy to read and excellent layout. Pressing any of the buttons it makes appear a simple menu with icons:
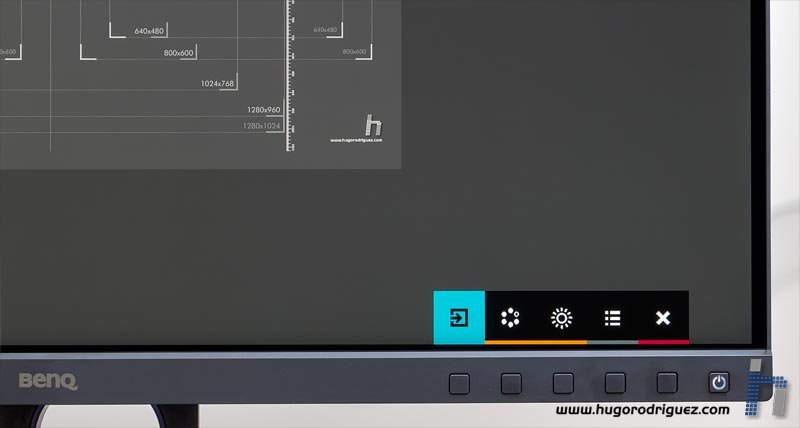
The first allows to quickly switch to another source:
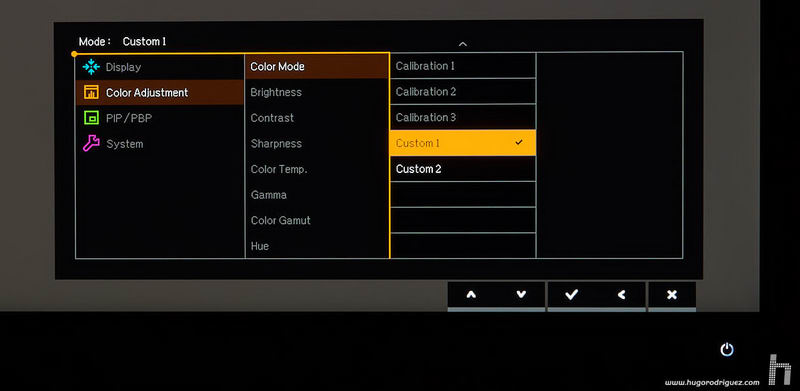
The second allows you to switch between different presets and calibrated or custom modes:
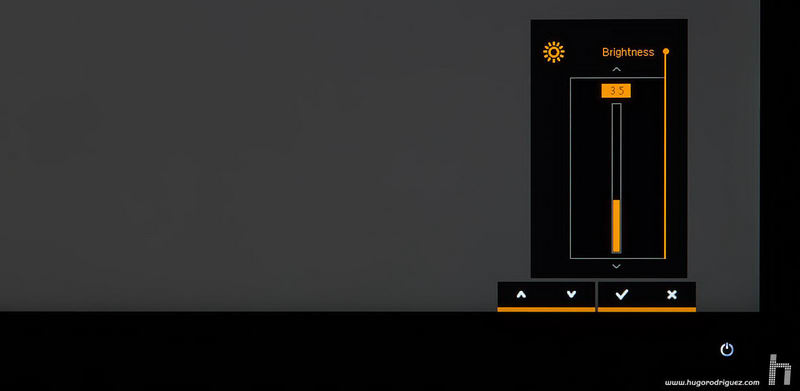
With the third one you can quickly access the brightness:
And with the fourth, you’ll go straight into the main menus:
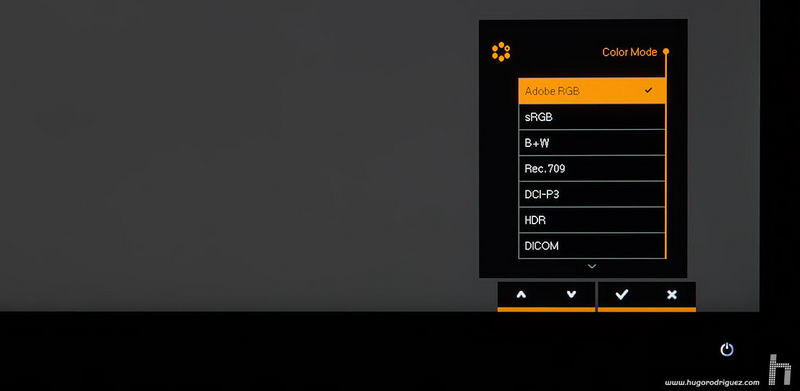
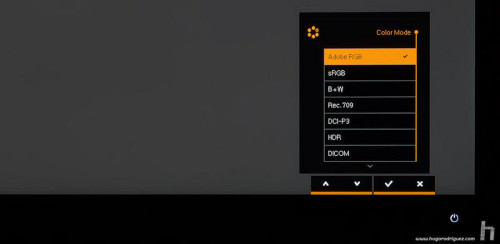
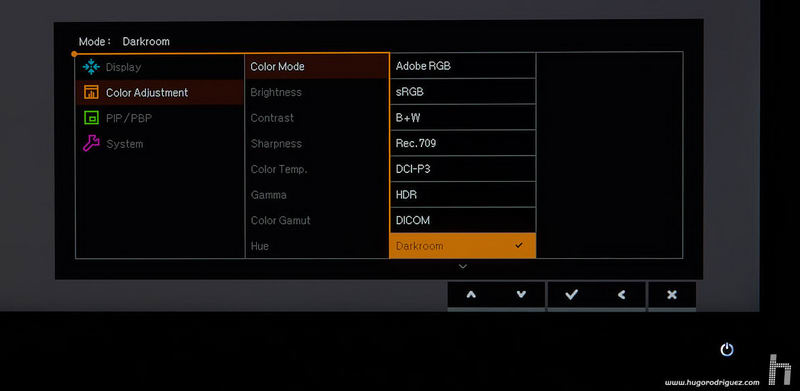
Within the color mode menu, you can find some very similar modes to those of the SW2700, but with these new modes (already present in the SW320):
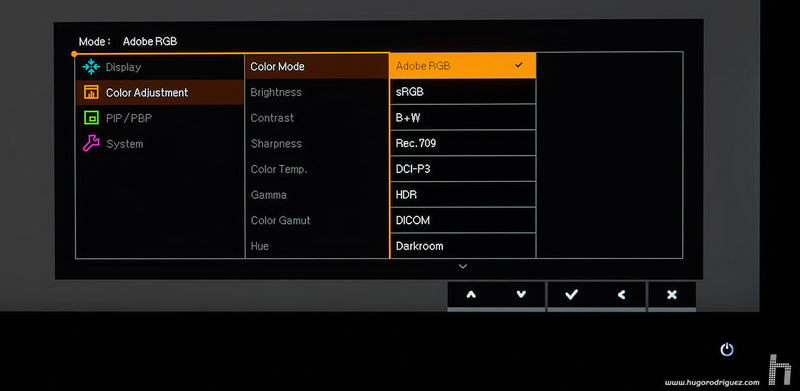

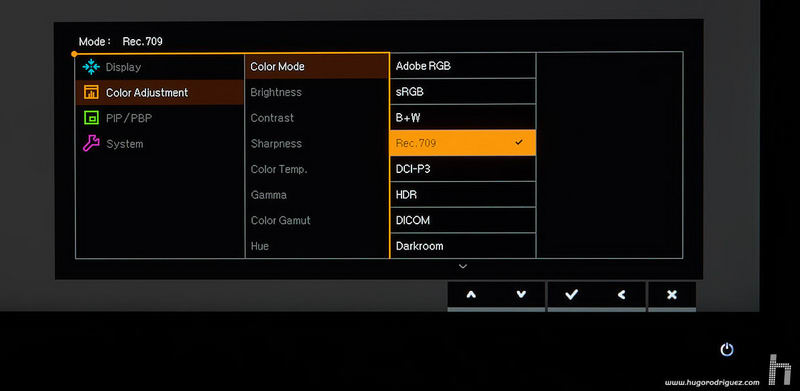
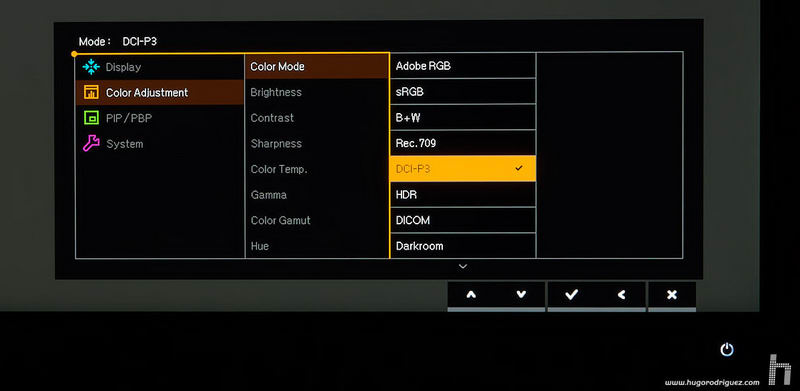
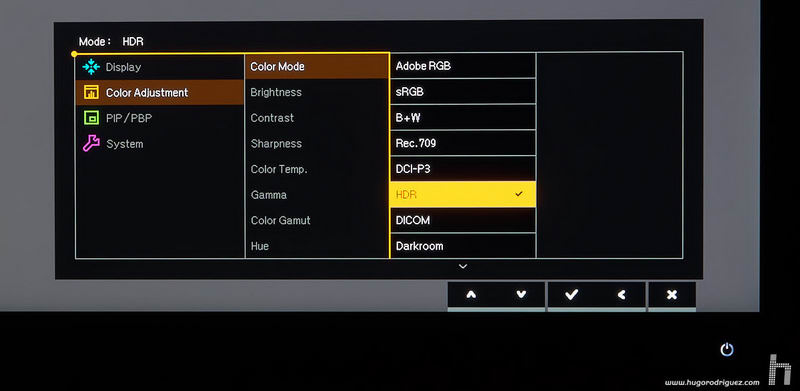
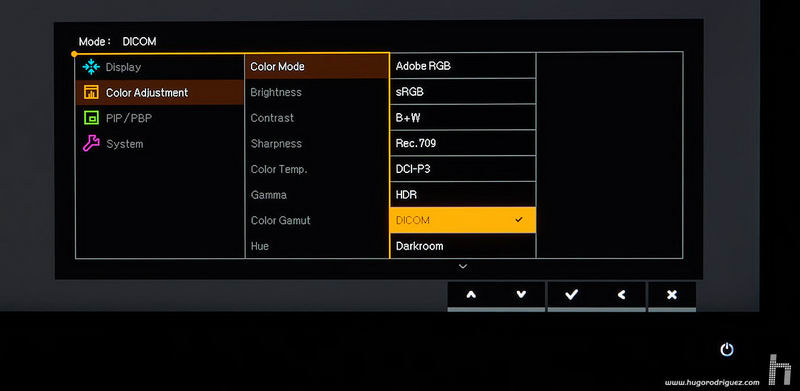
- The Rec709 and DCI-P3 modes, ideal for those who edit video for both TV/Web and movies, respectively.
- The HDR mode, which allows you to watch videos and movies encoded with the latest technology available in this field: UltraHD 4K HDR videos. I will discuss this mode in more detail later.
- The B&W mode, which shows the black and white screen (useful for working with this kind of photos), and also has three different settings, which I will discuss later.
- The darkroom mode, which lowers the brightness almost to a minimum and is ideal for rooms with very dim lighting. A good idea that had already been seen on SW320.
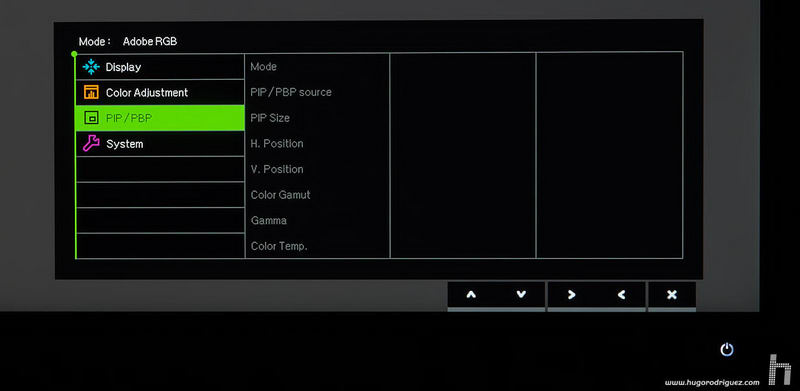
- PBP that allows you to use the GamutDuo function, which I will explain in detail later.
In this model, the ECO menu that other models has disappeared, which allows you to automatically adjust the brightness of the screen according to the light in the room, as well as the CAD/CAM and Animation modes.
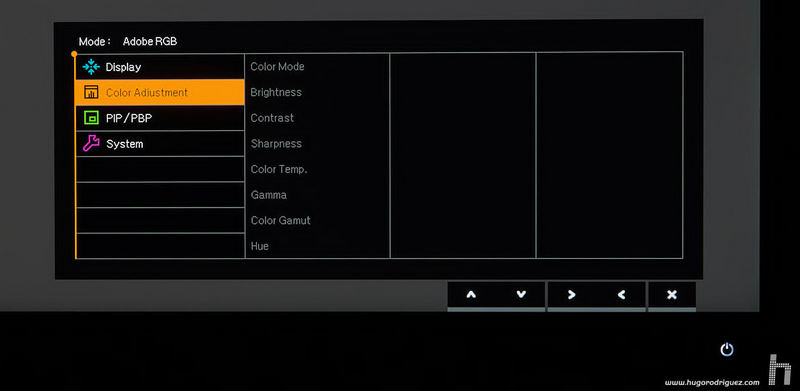
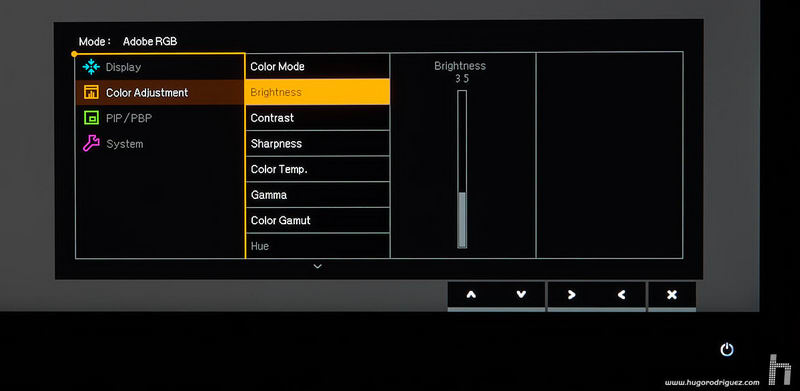
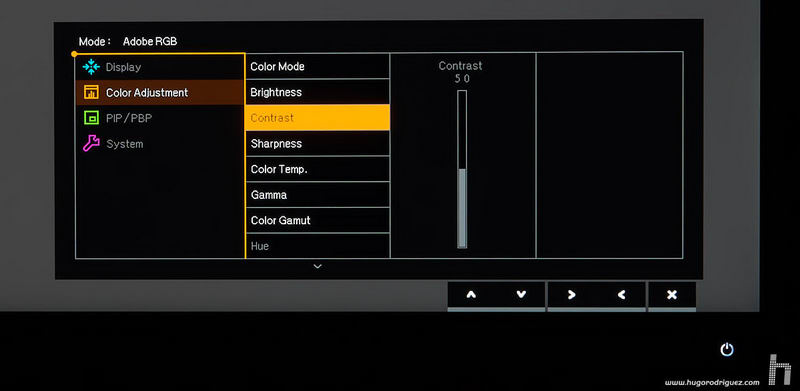
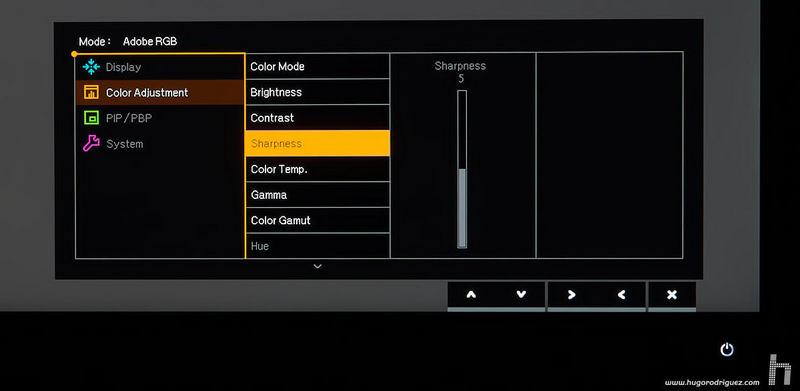
Let’s now look at the menus in detail. You can use the Image menu to adjust the settings:


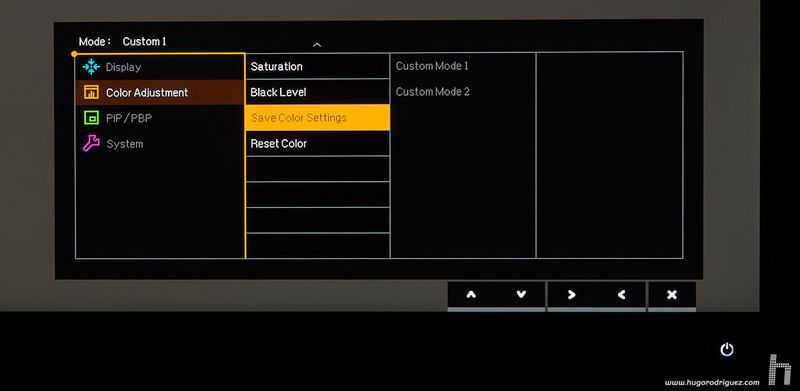
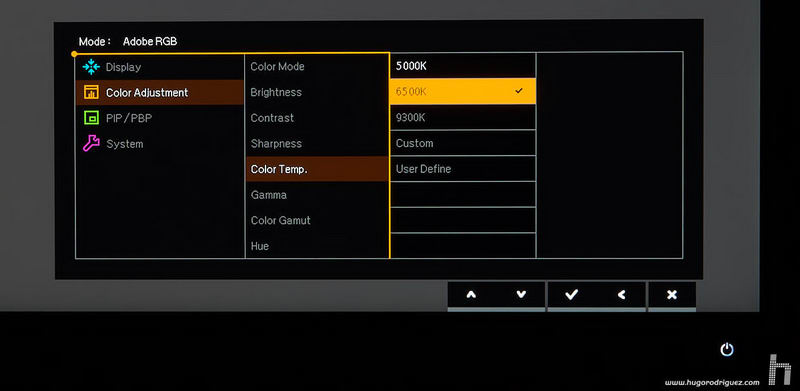
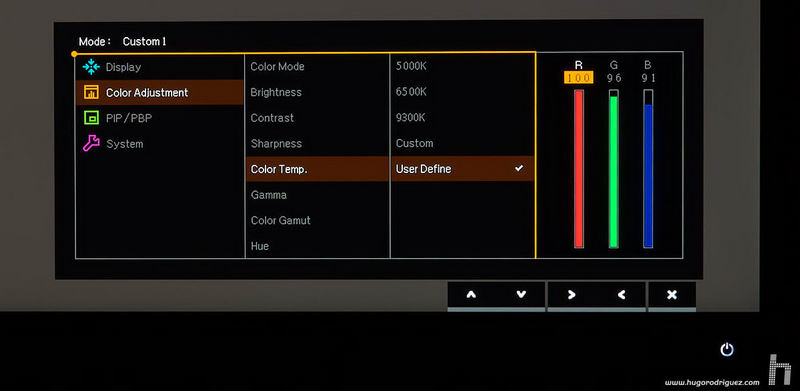
- The color mode. These are presets, such as Adobe RGB and sRGB (factory calibrated), calibrated ones (used for hardware calibration with the Palette Master Elements software), or custom (which allow you to manually adjust everything).
- The brightness. As I will comment later on, the brightness reaches almost 350 Cd/m2, which is an outrage, but nowadays seems necessary with the HDR mode.
- The contrast. Not very useful for photographers, but perhaps it is with the monitor connected to a blu-ray player, a media player or other similar sources.
- Sharpness (an unsharp mask filter)
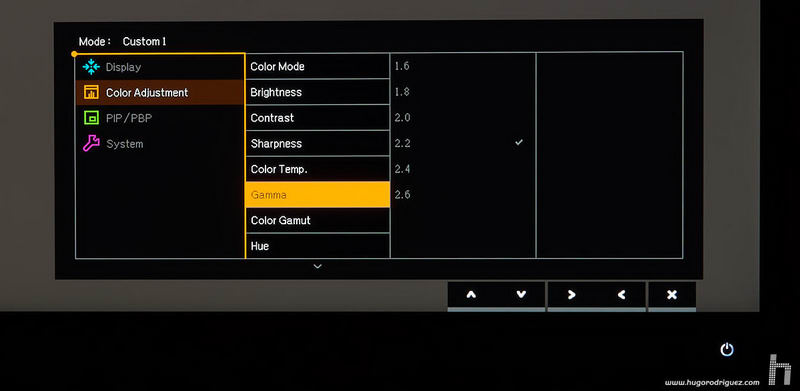
- The gamma curve. Can be adjusted manually between 1.6 and 2.6
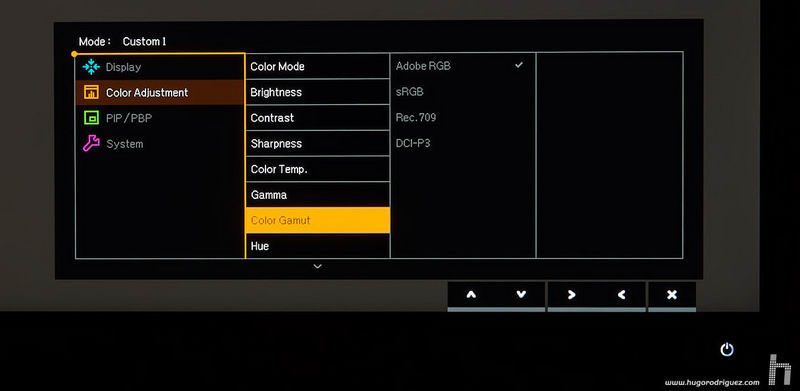
- The gamut (or color range). You can choose from the Adobe RGB, sRGB, Rec.709 and DCI-P3 gamuts. The good thing about being able to choose the gamut here is that, unlike presets with the same name, it now doesn’t take away the fact that it can be combined with another gamma curve and another white point, which can be saved in one of the two custom modes, which gives you much more flexibility to use the monitor as you like.
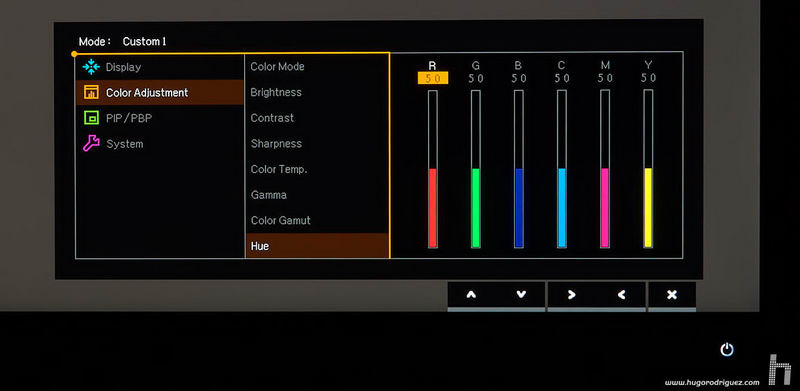
- Hue and saturation of each of the 6 primaries, independently. Essential for manually calibrating a screen for video use.
- Black level, which allows you to adjust the black level to make it less deep if preferred. This can be useful in some cases to facilitate matching when printing on matte paper.
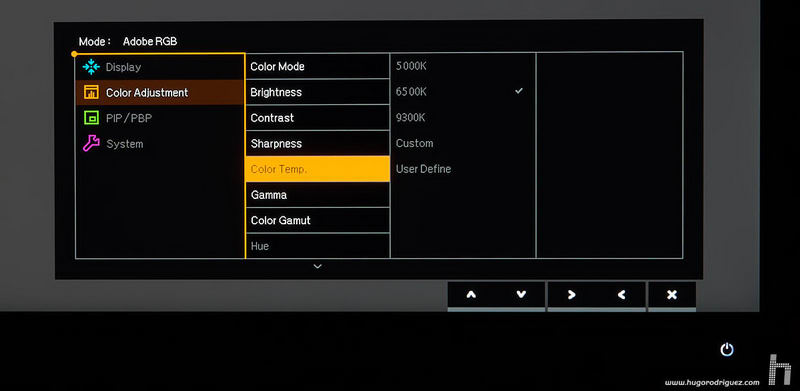
For the colour temperature, it can be set with several presets between 2.800K and 9.300K, manually or by RGB setting.

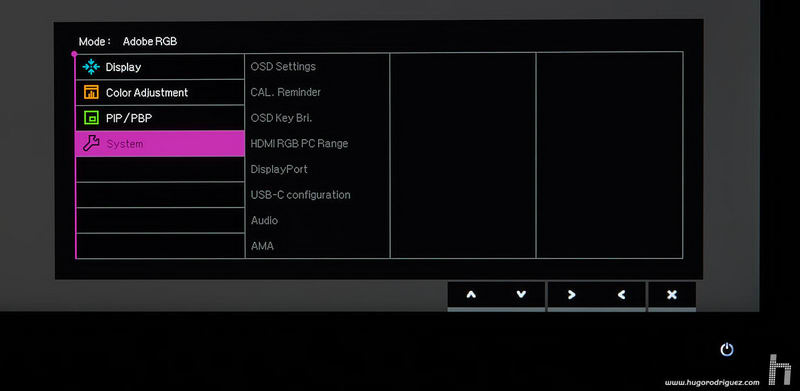
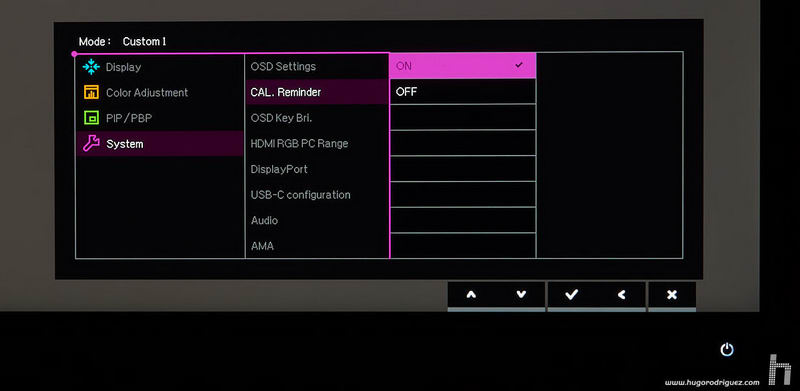
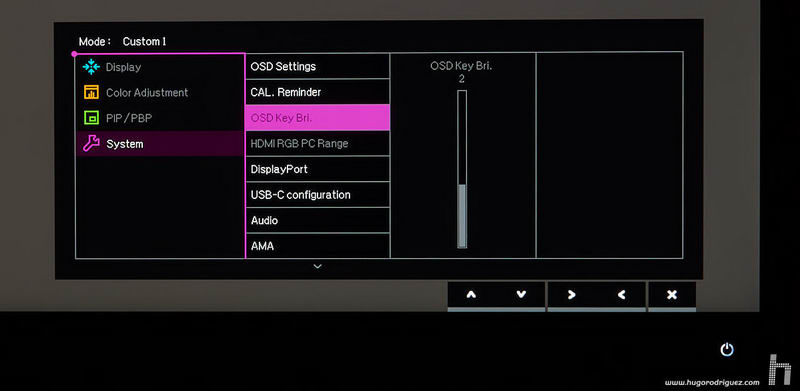
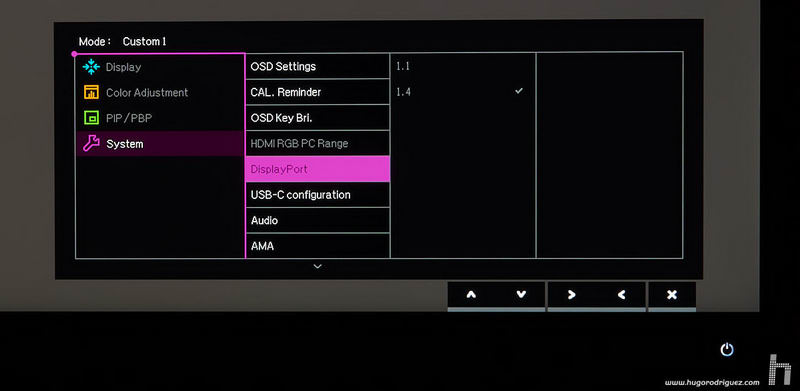
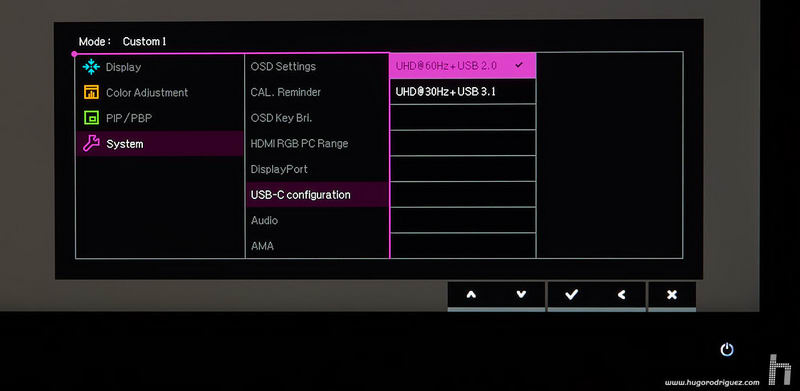
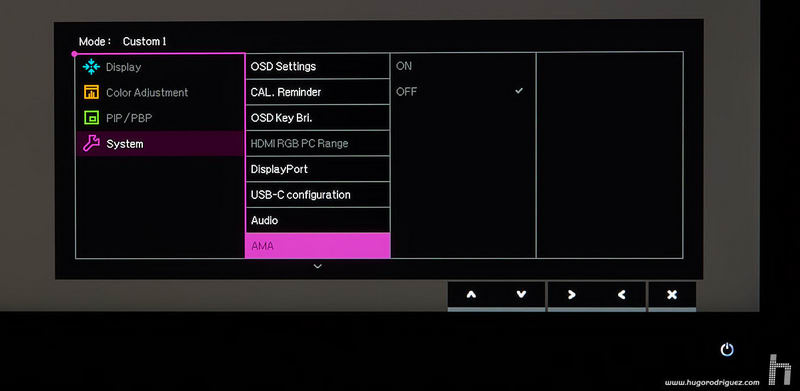
In the system menu there are many configuration functions that are worth checking out:
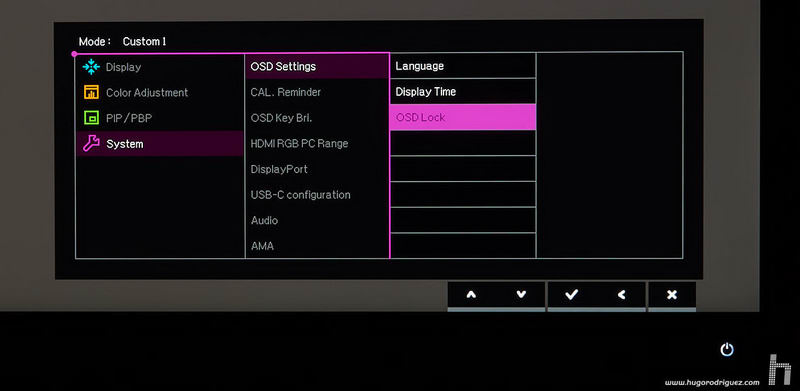
- OSD lock: In studios where a lot of people is moving, it often happens that when someone arrive at a computer, he finds that the image is too dark/bright (to his perception), and changes the brightness. Well, with this function it all can be locked; problem solved.
- CAL Reminder: when activated, the monitor will remind you to calibrate it (according to its own internal timer).
- OSD key bri.: This controls the brightness of the main key of the monitor; very interesting in dark environments.
- DisplayPort: This controls the version of the connectivity.
- USB-C configuration: When using this cable, you can choose whether to prioritize the screen refresh or the USB data bus speed (the former is usually chosen to make the image look more fluid).
- AMA: It improves the response time of the panel, which should be good for videogames.
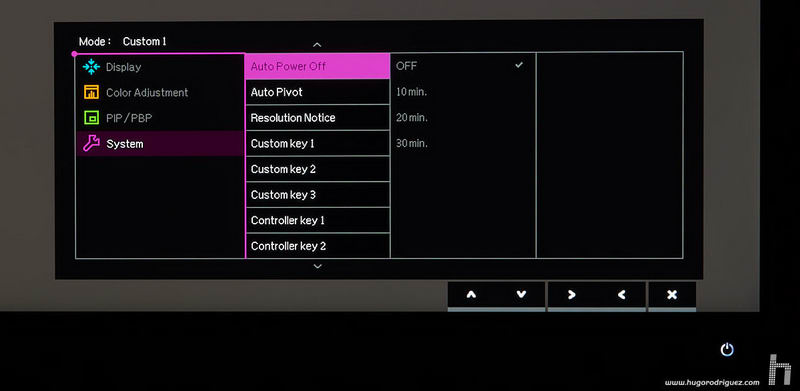
- Auto Power Off: Let’s the monitor save some energy after some minutes not in use.
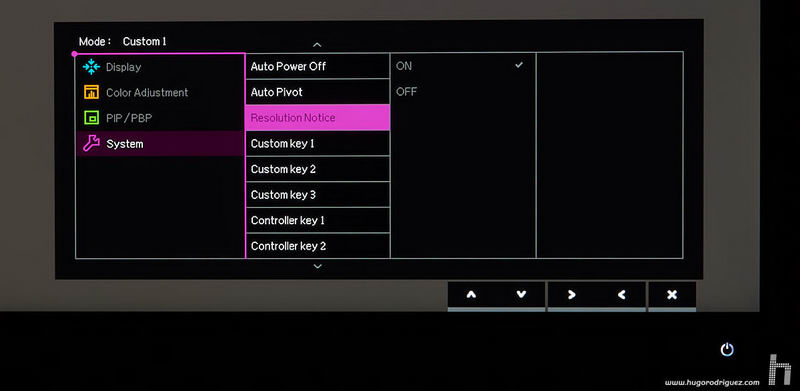
- Resolution notice: reminds you what the native resolution is in case you are not using it.
Continues in page 3…